Glow Worm Photography At The Tunnel: A Practical Guide
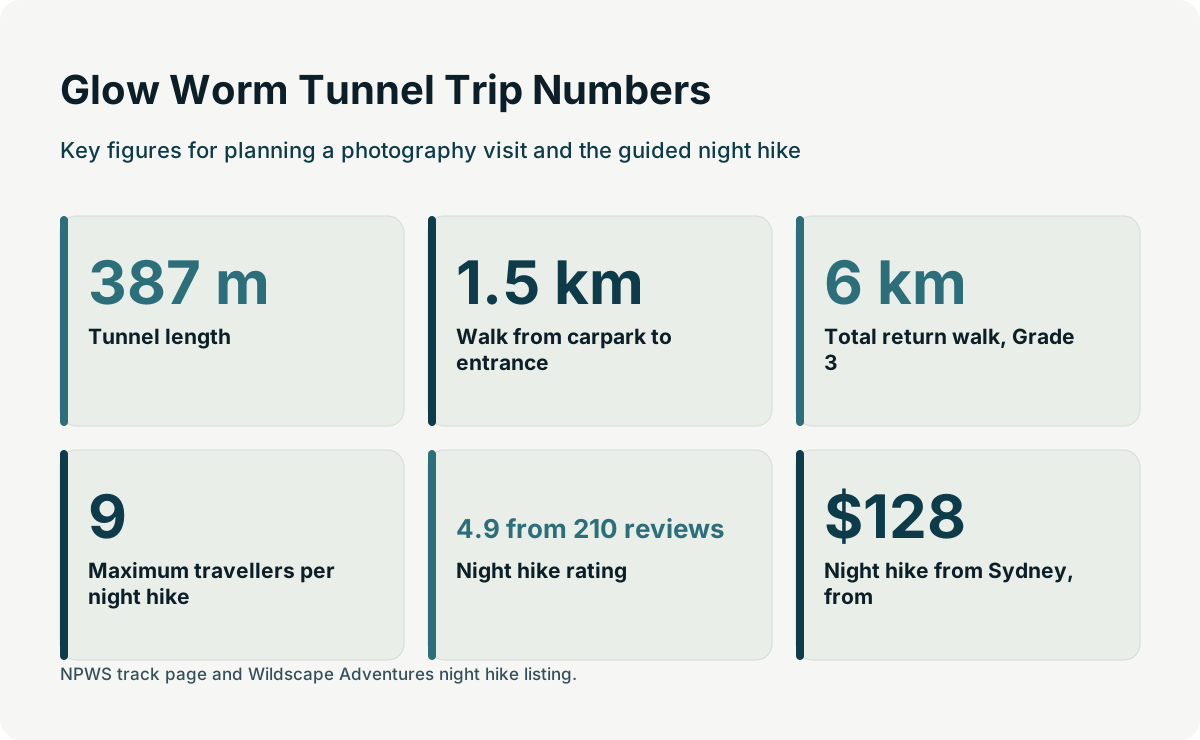
Glow worm photography is one of the harder things you can point a camera at: the subject is tiny, the light is faint, and the animals switch off the moment they feel disturbed. This guide works through what NSW National Parks actually asks of visitors, what general technique suits a pitch-black 387 m tunnel, and how to plan a trip that gives you quiet time in the dark.
Short answer
There is no official NPWS flash or photography rule for the Glow Worm Tunnel, so the working guidance is the NPWS torch advice: never point a torch at glow worms, use red light, stay on the path and let your eyes adjust. Glow worms turn their lights off when disturbed, so long dark exposures and patience matter more than gear.
Glow worm photography rewards preparation more than equipment. The subject is the larva of a fungus gnat, Arachnocampa richardsae, and its light is a faint blue-green glow produced by a chemical reaction in a transparent rear end. That light exists to lure prey into sticky silk snares, not to be photographed, and the animal can switch it off entirely when disturbed. Everything a photographer does in the Glow Worm Tunnel, from torch discipline to group size to shutter speed, follows from that one biological fact.
This guide sticks to what is documented. NSW National Parks publishes clear viewing guidance for the tunnel but no flash or photography rule was found on those pages, so nothing here is presented as an official camera policy. What follows is the real NPWS torch advice, general low-light technique that any night photographer would recognise, and the practical logistics of getting quiet time in front of a wild colony.
Why Glow Worms Are A Hard Photography Subject
The light is faint, constant and easily switched off: glow worms produce a blue-green bioluminescence from a transparent rear end to lure prey, they can turn it off when disturbed, and they sit on damp rock in total darkness, which means the photographer is working with a dim, stationary point of light in an environment where the animal itself controls whether the picture exists at all.
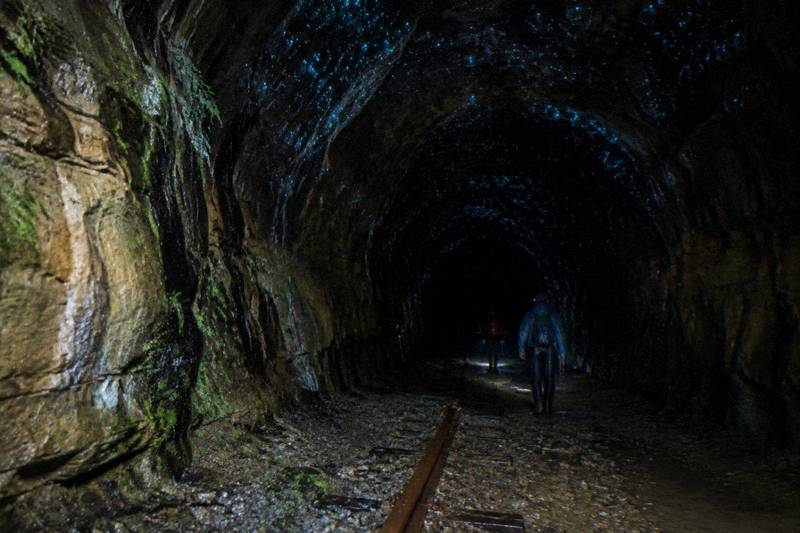
NSW National Parks describes the glow plainly: it is bioluminescence, a chemical reaction in living things, and it shines through the larva's transparent rear end. In the Wollemi tunnel the NPWS story describes "hundreds of blue-green tail lights" lining the roof and walls, each one a larva hanging from a silk nest with sticky threads dangling below. The larvae spend 6 to 9 months in that glowing stage, so the colony is present year round, but each individual's willingness to glow on any given night is conditional. Noise, torchlight pointed at them, or a disturbance in the air can end the display.
That creates a peculiar set of constraints. The subject does not move, which helps. The light does not flash or pulse on a cycle you can time, which also helps. But the light is dim enough that handheld shots are almost always wasted, and any attempt to brighten the scene with a torch risks the exact outcome the photographer is trying to avoid. The colony switching off is not a metaphor here. It is a documented behaviour, and it is the reason the NPWS guidance leans so heavily on red light, quiet and stillness.
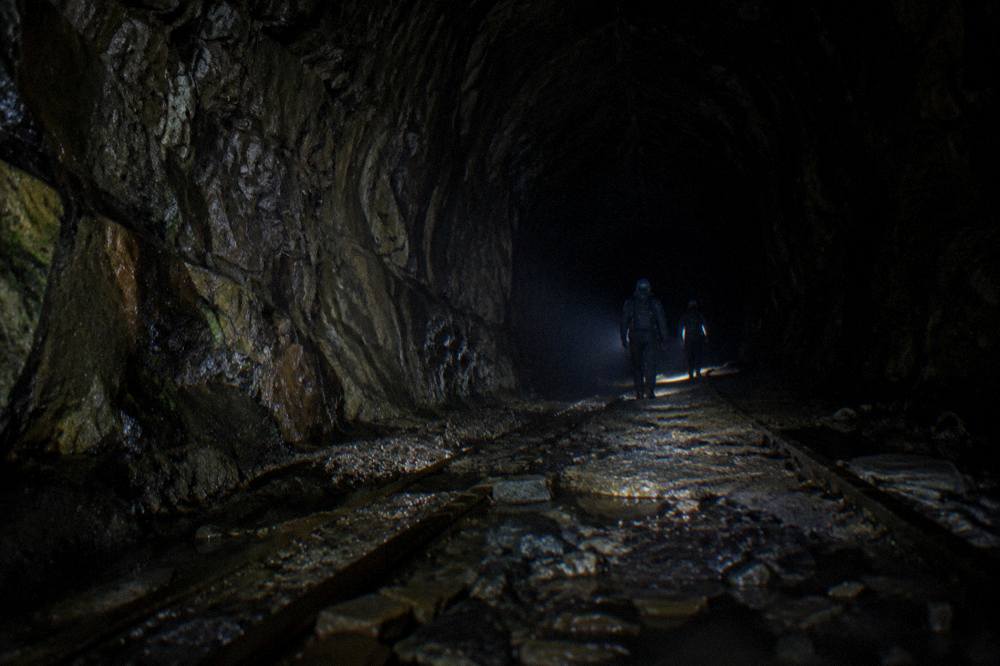
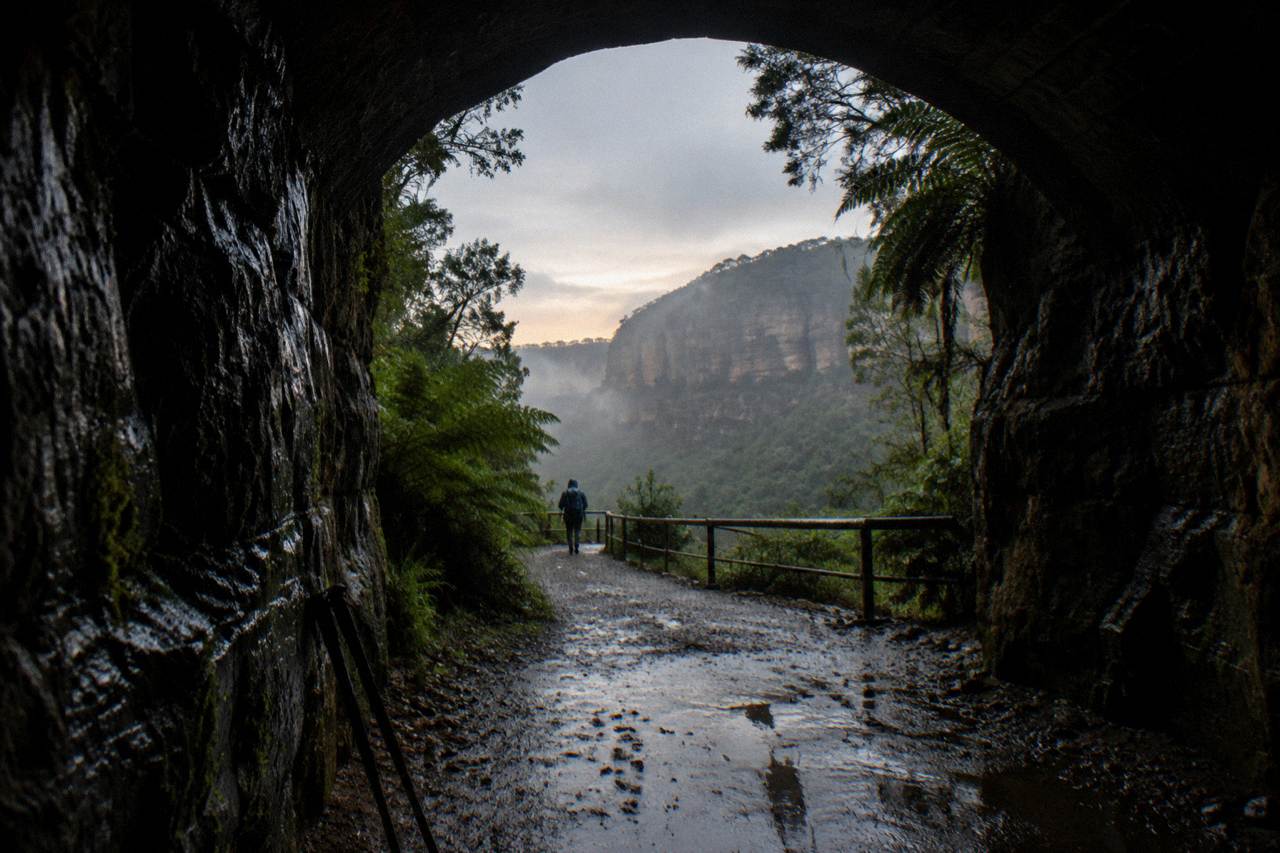
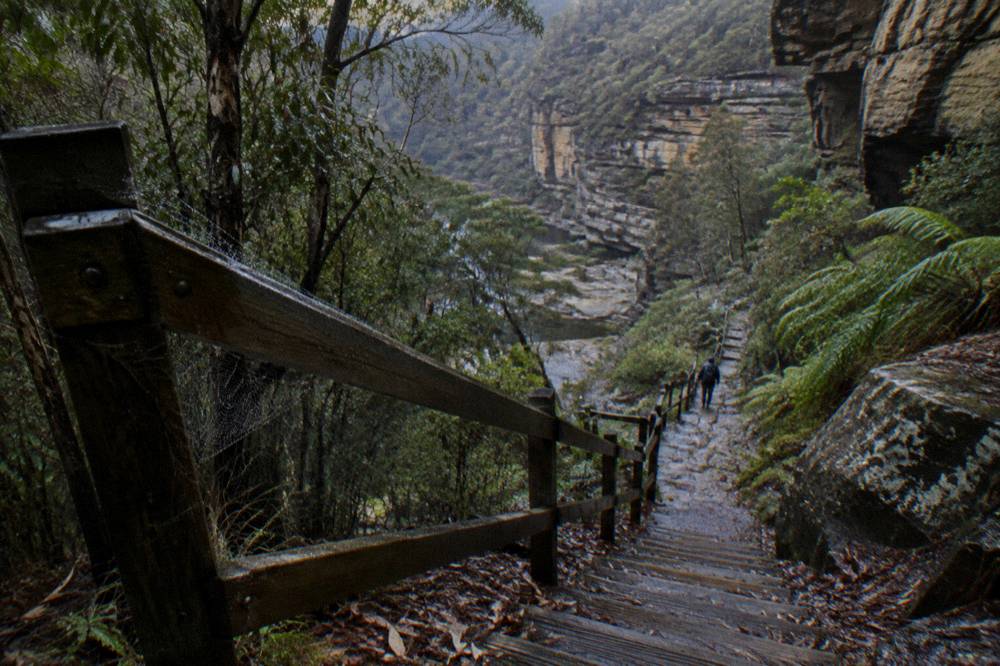
The tunnel itself shapes the shot list. It is 387 m long, built in the early 1900s for the Newnes mining railway, and it gets dark enough inside that glow worms can be seen during the day, per the NPWS track page. The floor is uneven and rocky and may be wet, upgrades have evened the surface and added a handrail inside, and there are over 80 steps without handrails on the approach. A tripod is legal to carry but awkward to place, and the shooting positions are dictated by where the colony actually is on the wall, not by where a composition would ideally sit.
The Real Rules: Torch Discipline, Not A Camera Policy
NSW National Parks asks visitors to stay on the path, keep noise to a minimum, let eyes adjust after turning off torches, and shine any torch at the ground or use a red-light option; the NPWS story adds never to point a torch at glow worms because it can damage their bioluminescence and makes them turn their lights off, and to look but not touch, with no flash or photography rule found on those pages.
That is the whole of the official guidance, and it is worth being precise about what it does and does not say. The Glow Worm Tunnel walking track page and the NPWS glow worm page together cover torch direction, red light, noise and path discipline. Neither page, nor the visitor info or alerts pages, states a flash ban, a tripod ban or any other camera-specific rule. Anyone claiming an official flash rule is going beyond what the sources say.
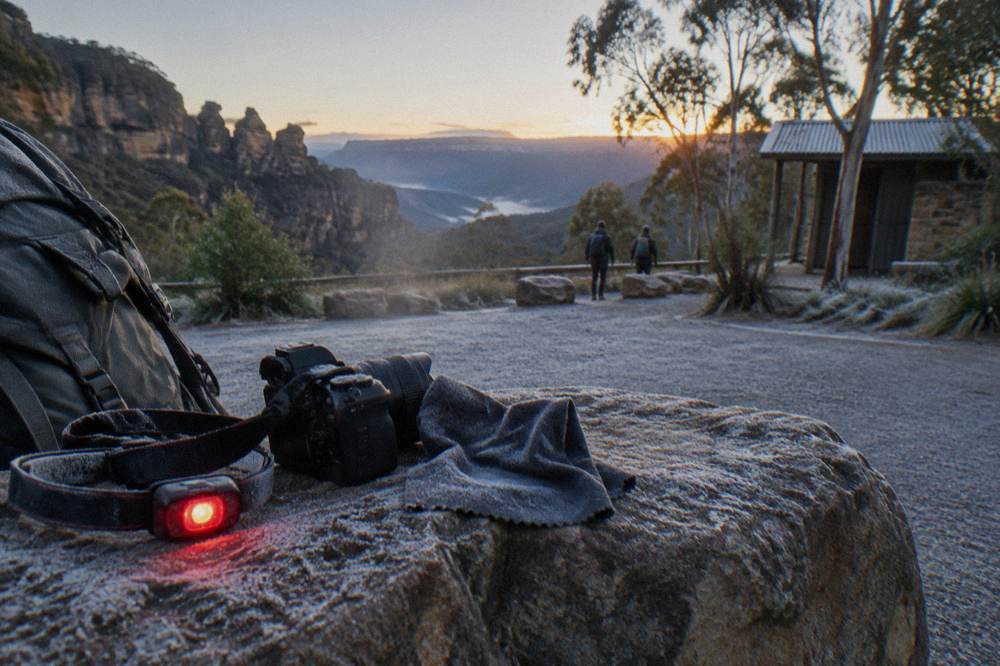
For a photographer this is actually liberating, because it means the working rules are about light discipline rather than equipment. A red-light headlamp or a torch with a red mode is the standard tool, and the night hike from Sydney supplies headlamps with a red-light mode as part of the tour. The discipline is simple to state and hard to keep in practice: light the ground you walk on, light the gear you set up, and never sweep the beam up the wall where the colony is glowing.
The reason is the switch-off behaviour. Glow worms "can control their lights and will turn them off if disturbed", in the NPWS wording, and the NPWS story is blunter: pointing a torch at them can damage their bioluminescence and turns their lights off. A single careless beam can darken a patch of wall for the rest of your visit, and if everyone in a group does it, the tunnel goes from a ceiling of lights to bare rock. The ethics of glow worm photography are therefore mostly the ethics of not being the person who ruined it for everyone standing behind you.
The same discipline applies to focusing. Cameras struggle to autofocus on a faint glow in total darkness, and the usual workaround is a brief low torch beam on a neutral rock near the colony to lock focus, then switch to manual and kill the light. Done carefully, aimed at ground-level rock and never at the larvae, this fits within the NPWS guidance. Done lazily, aimed up the wall, it is exactly the behaviour the guidance exists to prevent.
General Technique For A Pitch-Black Tunnel
There is no official camera setting for glow worms, but the general approach is a long exposure on a stable support, a wide aperture, a high but controlled ISO, manual focus locked before the lights go out, and enough patience to let the scene sit in darkness while the sensor accumulates the faint blue-green points against black rock.
This is standard night photography, and it should be labelled as such: general technique, not an official prescription. The glow is dim, so exposures run long, commonly tens of seconds rather than fractions of one. A tripod is the honest answer for stills; a rock ledge or a bag can substitute, though the tunnel floor is uneven and may be wet, so whatever the camera rests on needs to be genuinely stable. The subject does not move, which is the one gift the tunnel gives you: a 30 second exposure costs nothing but time.
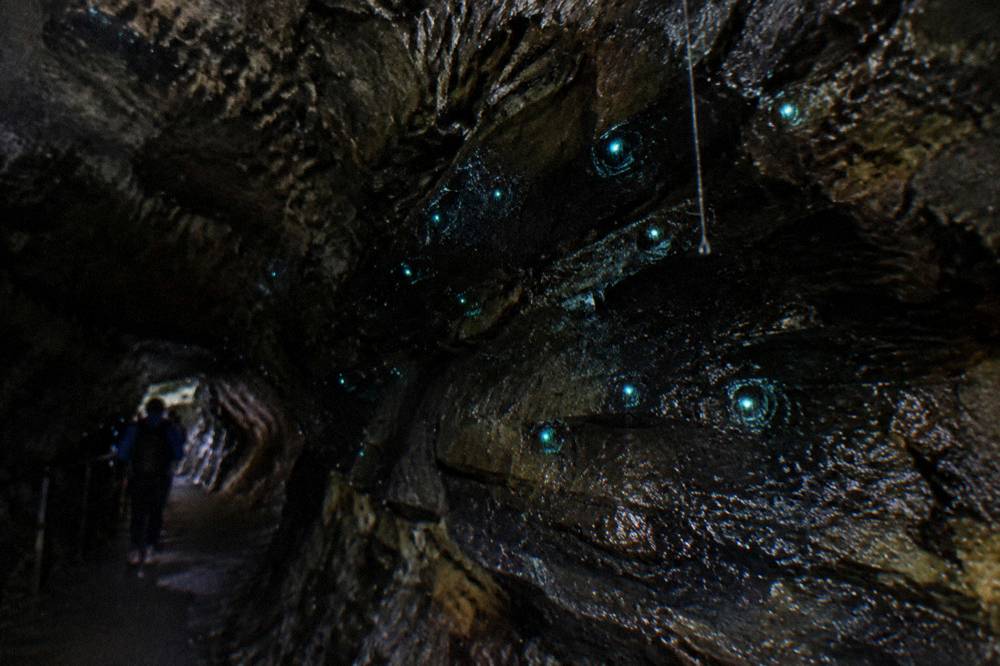
The composition question is how much black to include. A frame of pure glow points against black reads as abstraction; pulling back to include the tunnel wall, the handrail or the arch of the roof gives the image a sense of place. The NPWS story describes the colony as hundreds of lights, so density is part of the story, and a slightly wider frame often tells it better than a tight one. Wet rock helps here: after rain the walls glisten and pick up faint reflections, and operator and press reports suggest displays are often stronger in warm, wet conditions and after rain, though that is opinion rather than official data.
Video is harder than stills and worth a separate caution. Long exposures accumulate light over time; video frames cannot, so the faint glow often disappears entirely at video frame rates. Anyone hoping for moving footage of a glowing wall generally needs either an extreme low-light rig or the humility to accept that stills are the medium this subject rewards.
Why A Small Group Buys You Quiet Time In The Dark
The bookable night hike from Sydney runs with a maximum of 9 travellers, and that cap matters for photography because every additional person is an additional torch, an additional voice and an additional risk of the colony switching off; a small group also moves at one pace, waits together and leaves the tunnel as one quiet presence rather than a stream of visitors.
The listing for the night hike, operated by Wildscape Adventures, caps the group at 9 and supplies headlamps with a red-light mode, which means the entire party is equipped for light discipline from the first step. A certified outdoor instructor leads, transport from Sydney is in a small van, and pickup is staggered from hotel doors in a window of about 7:50pm to 8:35pm, with returns around 11pm to midnight per the operator. The hike goes to a cave with a waterfall where native glow worms can be seen, a different site from the Wollemi tunnel, and the operator does not publish the cave's location. If you're weighing this hike against the Wollemi tunnel or other spots, the answer on every documented NSW glow worm location compares all the documented locations.
For a photographer, the group cap is the single most valuable line in the listing. Glow worms respond to disturbance, and disturbance scales with headcount. Nine people briefed on red light and quiet can stand in a dark cave for as long as the schedule allows, while a larger crowd produces the shuffling, whispering and torch leakage that empties a wall of its lights. The tour is rated 4.9 from 210 reviews, from $128 USD per person, about 5 hours door to door, with free cancellation up to 24 hours before and cancellation for bad weather or if minimum numbers are not met, all per the listing.
It should be said plainly: no operator can guarantee a sighting, because glow worms are wild animals and the operator cancels for bad weather. What a small group buys is not a promise of a photograph but the conditions under which a photograph becomes possible: sustained quiet, disciplined light and enough unhurried minutes in the dark for eyes to adjust and exposures to accumulate. Readers weighing self-drive against a guided night should also look at the self-drive versus guided comparison, which works through the trade-offs for the tunnel specifically.
Timing, Weather And Season For The Best Frames
Glow worms are present in the tunnel year round and the tunnel is dark enough for daytime viewing, NSW National Parks suggests weekdays, spring or autumn to avoid crowds and limited parking, and while no official source ranks months by brightness, operators and travel press say displays are often stronger in warm, wet months and after rain, which is opinion worth weighing when you pick a date.
The official position is deliberately modest. The NPWS track page says it is best to visit during the week or in spring or autumn, because summer, weekends and holiday periods bring crowds and limited parking at the end of Glowworm Tunnel Road. Beyond that, no ranking of months exists in any official source. What can be stated with data is the climate picture: Bureau of Meteorology statistics for Katoomba show mean minimum temperatures from 2.6 degrees in July to 13.0 in February, and mean rainfall peaking at 177.8 mm in February against 70.7 mm in September.
| Month | Mean minimum temp (C) | Mean rainfall (mm) | What it means for photography |
|---|---|---|---|
| January | 12.9 | 164.9 | Warm and wet; press and operators report strong displays, opinion not data |
| February | 13.0 | 177.8 | Wettest month; wet rock can add reflections, roads can be slippery |
| March | 11.6 | 174.6 | Late summer warmth with rain easing; often cited by operators |
| April | 8.8 | 121.9 | Autumn; NPWS suggests spring or autumn for fewer crowds |
| May | 6.1 | 100.3 | Cooling and drying; darker evenings help |
| June | 3.7 | 116.0 | Cold and quiet; overcast skies cut ambient light |
| July | 2.6 | 84.9 | Coldest month; fewest visitors, coldest hands |
| August | 3.3 | 79.3 | Cold and dry; low ambient light |
| September | 5.5 | 70.7 | Driest month; NPWS spring advice applies |
| October | 7.8 | 91.5 | Spring; NPWS-suggested window |
| November | 9.9 | 110.3 | Warming; weekends busier |
| December | 11.8 | 120.4 | Warm and wet; holiday crowds and limited parking |
Moonlight is the other variable worth planning around, and again the honest framing is that operators and press report low or no moonlight as ideal, with moonlight inhibiting output; that is operator opinion, not an official finding. Inside the 387 m tunnel the effect is muted because the tunnel is dark regardless, but for any open-air glow worm site, a moonless night is the safer bet. For a fuller treatment of season, the best time to see glow worms guide works through the same evidence in detail.
One practical note on darkness itself: the tunnel is dark enough for daytime viewing, so a photography trip does not strictly need to be a night trip. A midweek daytime visit avoids the road in the dark and still gives a glowing wall, though the surrounding walk loses the drama of night. The trade-offs between day and night visits are laid out in the night versus day glow worm tours guide.
What To Bring For A Photography Trip
The core kit is a camera capable of long exposures, a stable support, a torch or headlamp with a red-light mode, spare batteries, warm layers for temperatures that can fall to single digits, water because there is none at the track, and sturdy shoes for an uneven, sometimes wet tunnel floor with over 80 steps on the approach.
The site itself is spartan. NPWS lists two non-flush toilets, no drinking water, one timber bench and very limited mobile reception, and advises the Emergency Plus app. There is no entry fee listed for the track, and no booking or permit fee mentioned on any NPWS page read. The walk from the carpark at the end of Glowworm Tunnel Road is 1.5 km to the tunnel entrance, 6 km return overall, Grade 3, with short steep hills and some bushwalking experience recommended. If you're unsure what access rules actually apply out there, the guide to permits for the Lithgow glow worm tunnel covers what NPWS requires and how to confirm before you go.
| Item | Why it matters for glow worm photography |
|---|---|
| Camera with manual long exposure | The glow is dim; exposures of many seconds are the norm |
| Tripod or stable support | Handheld shots rarely record the faint points at all |
| Red-light headlamp or torch | The NPWS-preferred light for moving in the dark |
| Spare batteries | Long exposures and cold drain power quickly |
| Warm layers | Katoomba mean minimums fall to 2.6 degrees in July |
| Water and snacks | No drinking water at the track |
| Sturdy shoes | Uneven, rocky, sometimes wet tunnel floor and steps |
| Emergency Plus app | Very limited mobile reception in the area |
The red-light headlamp deserves its own line. If you are driving yourself to the tunnel, you need to bring your own; if you take the night hike from Sydney, the tour supplies headlamps with a red-light mode. Either way, the discipline is the same: the beam points at the ground, never at the wall. The what to bring guide covers the general packing list for the tunnel in more depth.
For photographers who would rather not assemble that kit themselves, the guided option covers the light discipline end of it: the night hike supplies the red-light headlamps, a certified outdoor instructor and a group of at most 9, leaving you to carry only the camera, the support and the patience. The listing runs from $128 USD per person with free cancellation up to 24 hours before, and it is flagged as often selling out.
A Do And Do-Not List For The Tunnel
The behaviours that protect the colony are staying on the path, keeping noise down, using red light or a ground-aimed torch, letting eyes adjust before shooting, looking without touching and packing out everything you bring; the behaviours that ruin it are pointing any light at the glow worms, using flash carelessly, touching the larvae or their silk snares, blocking the path while setting up, and visiting in a large loud group on a summer weekend.
This list is drawn directly from the NPWS guidance and the biology. The switch-off behaviour is the mechanism behind nearly every do-not: torch light pointed at the larvae can damage their bioluminescence and makes them turn their lights off, and the NPWS story is explicit about looking but not touching. The larvae hang from silk nests they secrete from their mouths, with sticky snares dangling below to catch mosquitoes and moths, and a hand or a tripod leg dragged across a nest destroys weeks of the animal's work for the sake of one frame.
| Do | Do not |
|---|---|
| Aim every torch at the ground or use red light | Point a torch at the glow worms |
| Let your eyes adjust before you shoot | Rush in shooting the moment you arrive |
| Keep noise to a minimum | Talk loudly or play sound in the tunnel |
| Stay on the path and the walkway | Step off track or climb for a better angle |
| Look without touching | Touch larvae, nests or silk snares |
| Take long exposures and wait | Expect quick handheld shots to work |
| Visit midweek or in spring or autumn | Pick a summer weekend with limited parking |
| Pack out everything you bring | Leave anything behind in the tunnel |
Flash deserves a final honest word. No NPWS flash rule was found on those pages. But the absence of a rule is not an invitation: a flash is a bright light pointed at the larvae, and the documented effect of bright light is that glow worms switch off. A photographer who understands the biology does not need a sign to reach the same conclusion.
Getting There And Building The Trip Around The Shot
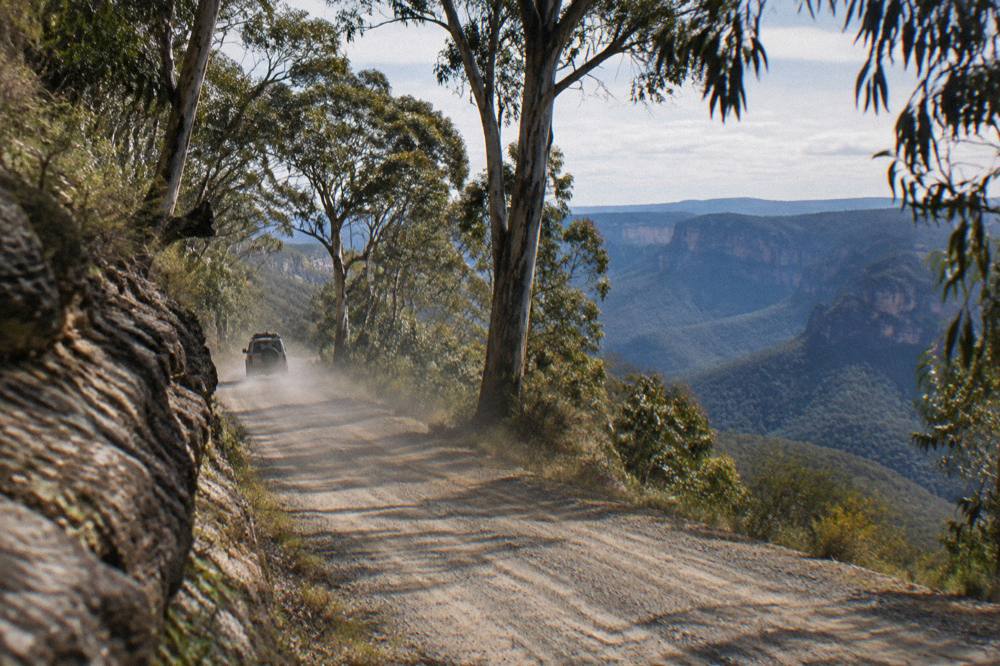
The Glow Worm Tunnel is about a 2.5 hour drive from Sydney per NSW National Parks, there is no public transport to the carpark, the access roads are unsealed with 4WD recommended in wet weather, and a photographer has two realistic shapes of trip: self-drive to the tunnel on a midweek day or evening, or the guided night hike from Sydney with hotel pickup and a maximum of 9 travellers.
The self-drive route is covered in detail in the Glow Worm Tunnel road and car park guide, but the photography-relevant facts are these: Glowworm Tunnel Road is unsealed, 2WD access is possible in dry weather, 4WD is highly recommended, and access is by 4WD only when wet. Parking is limited at peak times. Current alerts matter here too: a park fire ban applies in Wollemi National Park from 1 October 2026 to 31 March 2027, construction works at the Bungleboori precinct run until December 2026, and Glowworm Tunnel Road is reduced to a single lane at the Lost City North and Maiyingu Marragu intersection from 11 October 2026, with delays up to 5 minutes. The track status line reads "Open, check current alerts", and the is the tunnel open guide keeps the closure picture in one place.
The guided option is the night hike from Sydney, from $128 USD per person, rated 4.9 from 210 reviews, about 5 hours with evening hotel pickup and drop-off in a window of roughly 7:50pm to 8:35pm, and back around 11pm to midnight per the operator. It visits a glow worm cave behind a waterfall rather than the Wollemi tunnel, the operator does not publish the cave's location, and the listing is flagged as often selling out. For a photographer who wants the experience without the unsealed roads, it is the one bookable route, and the full detail sits on the night hike tour page, where you can also Check availability.
Which shape of trip suits you depends on what you want from the camera. Self-drive to the tunnel gives the 387 m railway bore, the historic setting and total control of your time, at the cost of the drive, the road and your own light discipline. The guided night hike gives a small group, supplied red-light headlamps and a cave behind a waterfall, at the cost of the operator's schedule rather than your own. Some photographers will want both, on different nights.
A final planning note on patience as gear. The best glow worm photographs are almost always taken after the crowd has gone, after eyes have adjusted, after the first careless torch has been switched off and the wall has recovered. Whatever trip you build, build it with slack: an hour of standing quietly in the dark is worth more than any lens in the bag. The Blue Mountains Glow Worms homepage carries the month-by-month ribbon and the full comparison if you are still choosing a window.
Common Questions About Glow Worm Photography
Is there an official flash photography rule for the Glow Worm Tunnel?
No flash or photography rule was found on any NSW National Parks page read for the tunnel. The official guidance is about torch use: shine a torch at the ground or use a red-light option, never point a torch at glow worms because it can damage their bioluminescence and makes them switch off, stay on the path and keep noise down. Flash is a bright light pointed at the larvae, and the biology points the same way the torch rules do.
Can you photograph glow worms on a phone?
It is difficult. The glow is faint, so phones need a long exposure mode, a stable rest and total stillness. A phone propped on a rock ledge or a small tripod, with a night mode of several seconds, can record the brighter colonies. Handheld phone shots almost never work, and using the flash absolutely defeats the purpose.
Why do glow worms turn their lights off?
NSW National Parks states that glow worms can control their lights and will turn them off if disturbed. The glow is bioluminescence from the larva's transparent rear end, used to lure prey into silk snares. Torch light, noise and disturbance can end the display, which is why red light and quiet are the core of the official advice.
What time of year is best for glow worm photography?
Glow worms are present year round and the tunnel is dark enough for daytime viewing. NSW National Parks suggests visiting during the week or in spring or autumn to avoid crowds and limited parking. Operators and travel press often say displays are stronger in warm, wet months and after rain, but that is opinion, not an official finding, and no source ranks months by brightness.
Does the guided night hike allow time for photography?
The listing does not promise photography time, but the structure helps: a maximum of 9 travellers, headlamps with a red-light mode supplied, and a guided bush walk in the dark to a cave with a waterfall where glow worms can be seen. The tour runs about 5 hours with hotel pickup from Sydney in a window of roughly 7:50pm to 8:35pm. Sighting is never guaranteed, since glow worms are wild and the operator cancels for bad weather.
Do you need a tripod for glow worm photography?
For stills, yes, or an equally stable rest. The light is too dim for handheld exposures, and the subject does not move, so long exposures of many seconds are the standard approach. A rock ledge or a bag can work in the tunnel, though the floor is uneven and may be wet, so check the footing before you commit your gear to it.