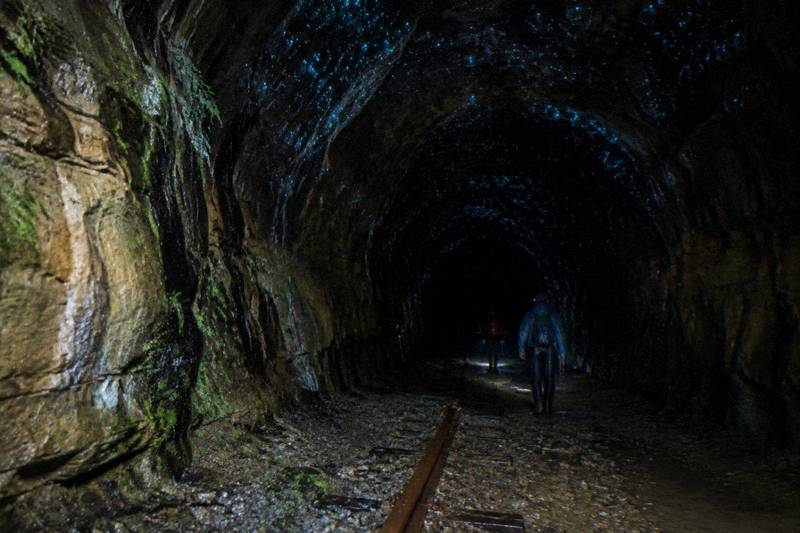
What To Bring To The Glow Worm Tunnel: A Practical Packing List
Packing for the Glow Worm Tunnel is less about gear and more about the details that make a dark, damp, uneven walk comfortable: the right torch, shoes that grip a wet rocky floor, water, and warm layers for a plateau night.
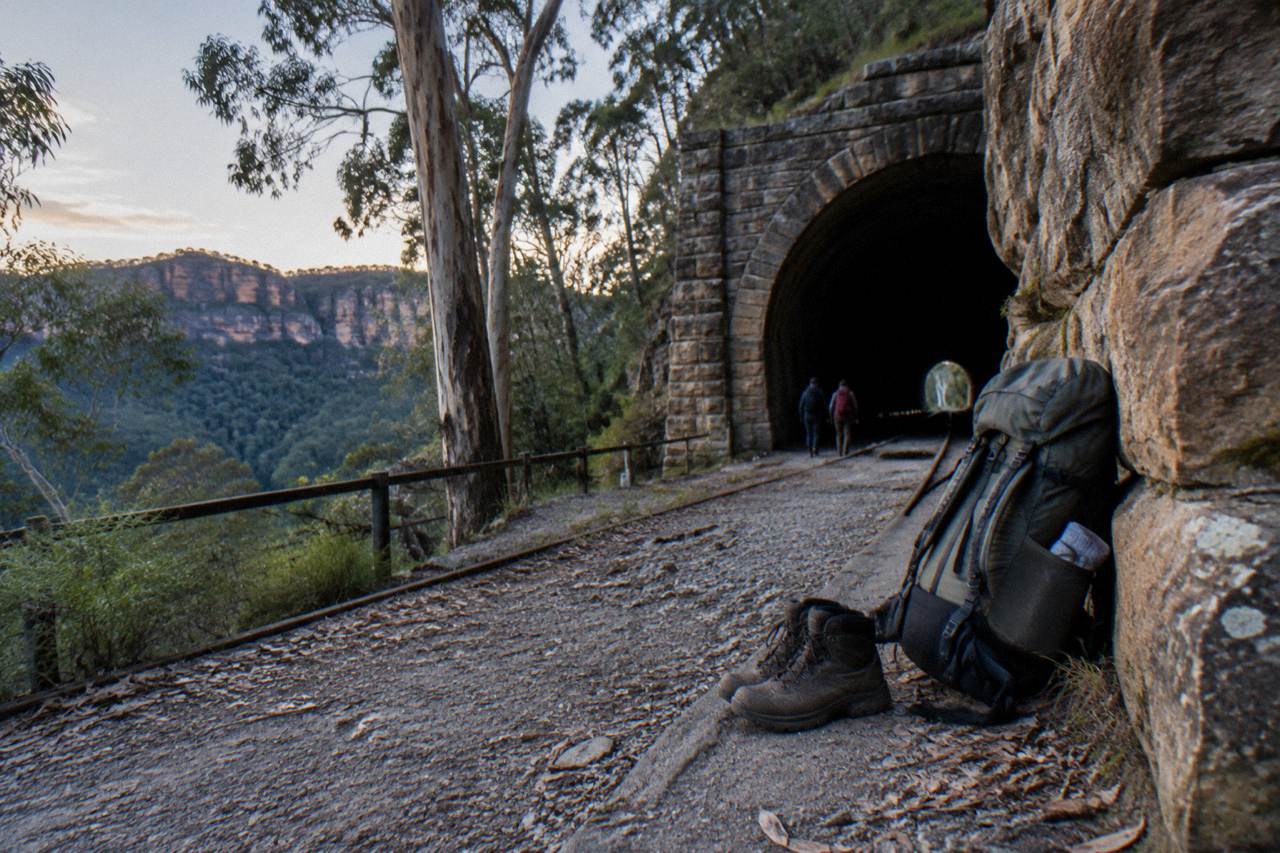
Short answer
Bring a torch with a red-light option, sturdy closed shoes with grip, drinking water, warm layered clothing, a charged phone with the Emergency Plus app and offline maps, and nothing that breaks park rules: no bikes on the track, no pets, no smoking. The tunnel walk has no drinking water and very limited mobile reception, so those two items matter more than anything else.
What To Bring To The Glow Worm Tunnel: A Practical Packing List
The Glow Worm Tunnel walk in Wollemi National Park is a 6 km return trip on an old railway formation, and almost everything that goes wrong for first-time visitors goes wrong in the same three ways: the wrong torch, the wrong shoes, and no water. The track itself is listed as open with a note to check current alerts, and NSW National Parks describes it as a Grade 3 walk with short steep hills, over 80 steps without handrails, and a tunnel floor that is uneven, rocky and often wet. That combination drives the whole list. Pack for darkness, damp and an unsealed-road drive, in that order, and the rest of the day takes care of itself. Track conditions can change quickly after rain, so check the Glow Worm Tunnel closure and current alerts guide before you load the car.
This guide works through the list item by item, explains what the guided night hike from Sydney supplies so you do not double-pack, and finishes with a short checklist you can screenshot. The tunnel is a free, self-guided walk, so nothing here costs money to buy beyond what you already own.
What Should You Pack For The Glow Worm Tunnel Walk?
The core list is a torch with a red-light option, sturdy closed-toe walking shoes, drinking water, warm layered clothing, a charged phone with the Emergency Plus app and offline maps downloaded, and basic trail snacks. NSW National Parks asks visitors to stay on the path, keep noise to a minimum, and shine any torch at the ground or use a red-light setting, because light pointed at glow worms can damage their bioluminescence and makes them switch off.
The torch question deserves the most thought. Glow worms control their lights and turn them off when disturbed, so a bright white beam waved around the tunnel is the fastest way to see nothing. The official guidance is to shine your torch at the ground, or better, use a red-light option, which is the least disruptive setting. A headlamp with a red mode leaves your hands free for the timber steps and the handrail inside the tunnel, and a small backup torch covers a flat battery. Phone torches work in a pinch but run a battery down fast in the cold.
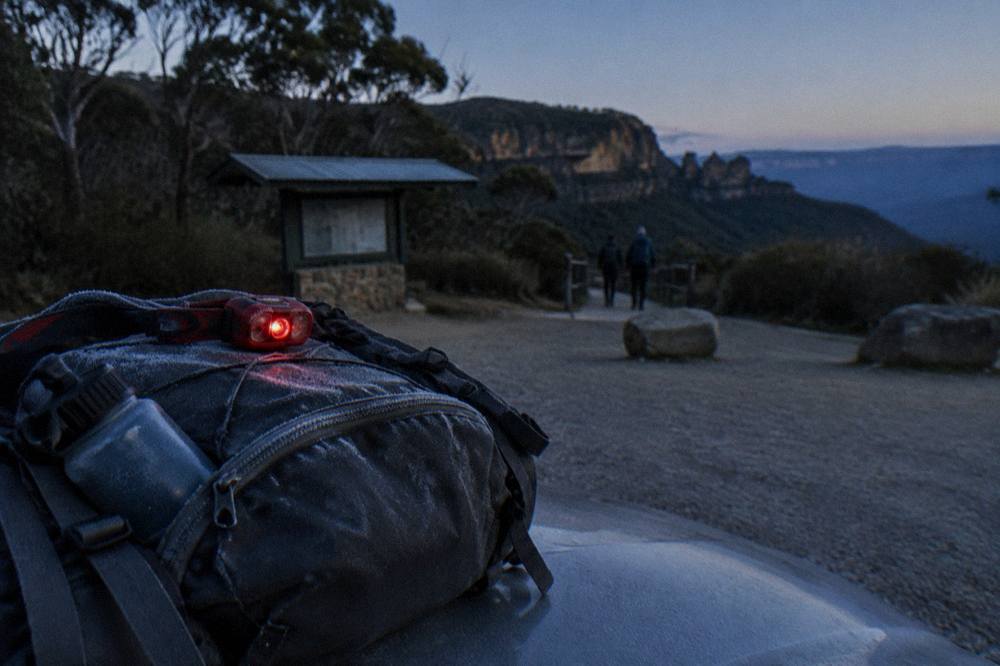
Water is non-negotiable. The track pages list no drinking water anywhere on site: the facilities are two non-flush toilets, one timber bench at the start, and nothing else. The walk is suggested at 2 to 3 hours for the 6 km return, plus the drive in and out on 35 to 40 km of unsealed road, and there is nowhere to top up a bottle. Carry more than feels necessary, especially in summer, because the nearest supply is back in Lithgow.
Here is the item-by-item breakdown with the reason each thing earns its place in the pack.
| Item | Why you need it | Notes |
|---|---|---|
| Torch or headlamp with red-light mode | Least disruptive light for viewing; NPWS says shine torches at the ground | Headlamp keeps hands free on the steps |
| Sturdy closed-toe shoes | Tunnel floor is uneven, rocky and may be wet; 80+ steps, some narrow timber | Grip matters more than style |
| Drinking water | No drinking water on site | Carry enough for the walk plus the drive |
| Warm layers | Plateau nights are cold year round; see the temperature table below | Fleece plus windproof shell works well |
| Charged phone with Emergency Plus app | Very limited mobile reception on site | Download offline maps before you leave |
| Snacks | 2 to 3 hour suggested walk plus travel time | Take rubbish out with you |
| Small first aid kit | Grade 3 track, short steep hills, remote area | Blister plasters are the most-used item |
| Sun protection for the walk in | Sections of exposed plateau | Hat and sunscreen even on mild days |
A few things do not need to go in the bag at all. The tunnel is dark enough to see glow worms during the day, so you are not packing for a technical night expedition, and the surface inside has been evened out with a handrail added. What you are packing for is a bushwalk with a dark, damp middle section and a long gravel road at each end.
What Shoes And Clothing Work For The Tunnel And The Plateau?
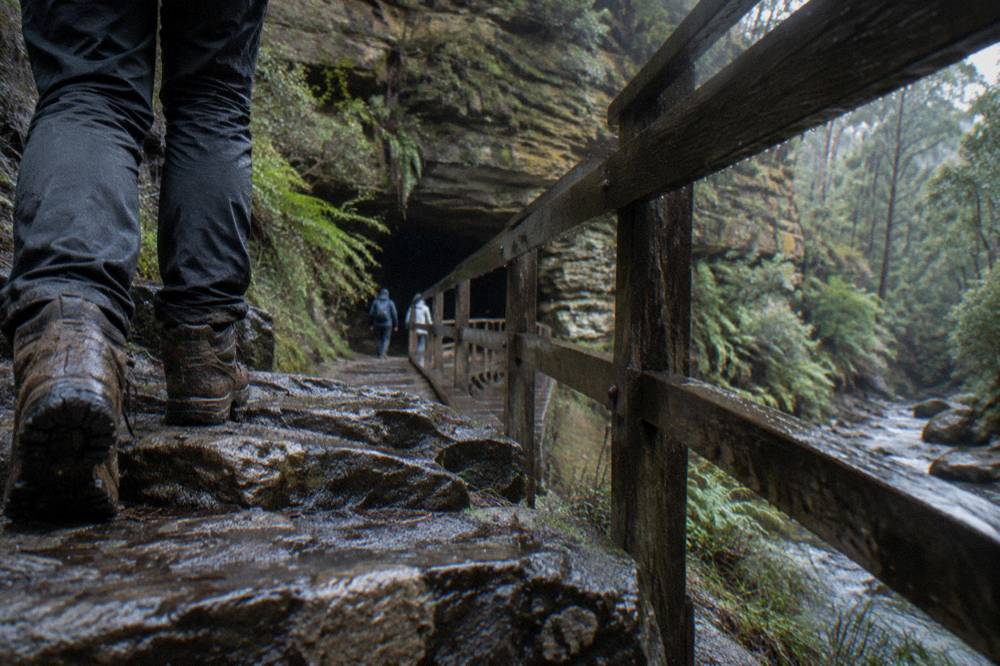
Wear closed-toe walking shoes with real grip and carry more warmth than the forecast suggests. The track has about 30 stone steps down to a bridge, about 30 narrow winding timber steps back up, a pinch point half a metre wide, and a tunnel floor that is uneven, rocky and often wet, while the plateau sits above 1,000 metres where night temperatures fall far below what coastal Sydney feels.
The steps are the reason sandals and worn sneakers fail here. The timber staircase back up is narrow and winding, and the stone steps down to the bridge have no handrails. A shoe with a lugged sole and ankle support turns those sections from careful into comfortable. Trail runners are fine for confident walkers; full hiking boots are better if your ankles wobble.
Clothing is where coastal visitors get caught out. Katoomba, at 1,017 metres elevation, records a mean minimum of 12.9 degrees in January and 2.6 degrees in July, and the tunnel area sits on the same exposed plateau country. A day that starts warm in Sydney can end with you standing still in a dark, draughty tunnel waiting for your eyes to adjust. Layers you can add and shed, plus a windproof outer, beat one heavy jacket. If you are planning around the calendar, the month-by-month detail in our guide to the best time to see glow worms covers crowds and conditions together.
| Month | Mean minimum at Katoomba (C) | Mean rainfall (mm) | Packing implication |
|---|---|---|---|
| January | 12.9 | 164.9 | Warm days, cool nights; rain gear worth carrying |
| February | 13.0 | 177.8 | Wettest month; check track alerts after rain |
| March | 11.6 | 174.6 | Still wet; grip and waterproofing matter |
| April | 8.8 | 121.9 | Autumn: evenings cold, fewer crowds |
| May | 6.1 | 100.3 | Real winter layers from here on |
| June | 3.7 | 116.0 | Freezing nights possible; gloves and beanie |
| July | 2.6 | 84.9 | Coldest month; full winter kit |
| August | 3.3 | 79.3 | Cold, drier; good clear viewing nights |
| September | 5.5 | 70.7 | Driest month; still cold after dark |
| October | 7.8 | 91.5 | Spring: NPWS recommends this season |
| November | 9.9 | 110.3 | Warming up; rain returning |
| December | 11.8 | 120.4 | Warm, wet; busy holiday period, limited parking |
Those figures come from the Bureau of Meteorology's long-term averages for the Katoomba (Farnells Rd) station, published at the BOM climate statistics page. They are averages, not forecasts, so check the live forecast the day before and add a layer for the tunnel itself, which stays cold and damp regardless of the weather outside.
What Does The Guided Night Hike Supply For You?
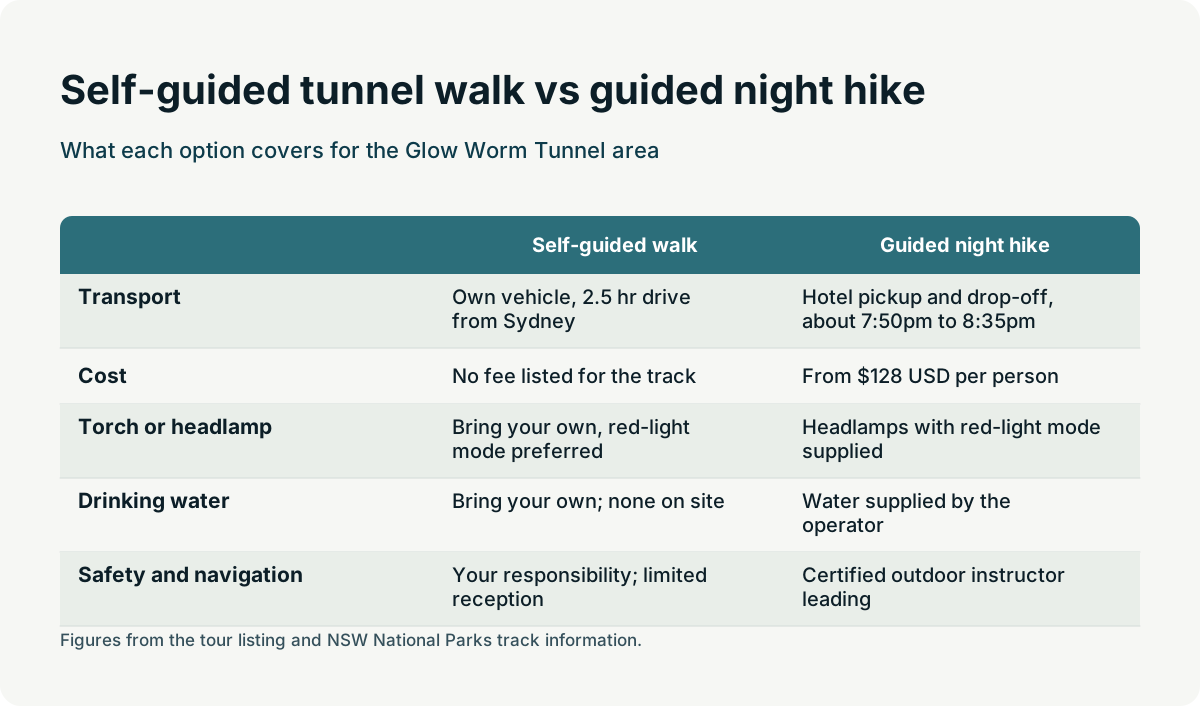
The Sydney-pickup night hike supplies headlamps with a red-light mode, drinking water, parking fees and a certified outdoor instructor, so you only need to bring clothing, shoes and personal items. It runs about 5 hours with hotel pickup between about 7:50pm and 8:35pm, carries a maximum of 9 travellers, and costs from $128 USD per person with free cancellation up to 24 hours before.
That list changes what goes in your bag. If you are walking the public tunnel track on your own, the torch, water and safety gear are all yours to carry. If you take the guided cave hike instead, the operator's listing states that transport in a small van, parking fees, water and headlamps with red-light mode are all included, and the guide handles route-finding in the dark. You still need the warm layers and the sturdy shoes, because those are about your body, not the logistics.
The tour is rated 4.9 from 210 reviews and the listing is flagged as often selling out, which is worth knowing before you build a whole evening around it. It is a guided bush walk in the dark to a cave with a waterfall where native glow worms can be seen, plus a chance of other local wildlife. The operator does not publish the cave's location, and it is not the Glow Worm Tunnel at Newnes: the two are different places, one a free self-guided walk and one a bookable Sydney-pickup experience. Our Blue Mountains glow worm tour guide unpacks the differences in detail.
| Item | Self-guided Glow Worm Tunnel walk | Guided night hike from Sydney |
|---|---|---|
| Torch or headlamp | Bring your own, red-light mode preferred | Headlamps with red-light mode supplied |
| Drinking water | Bring your own; none on site | Water supplied by the operator |
| Parking and fees | No fee listed; limited parking at the carpark | Parking fees included |
| Transport | Own vehicle on unsealed roads, 2.5 hr drive from Sydney | Hotel pickup and drop-off, about 7:50pm to 8:35pm |
| Clothing and shoes | Your responsibility | Your responsibility |
| Safety and navigation | Your responsibility; limited reception | Certified outdoor instructor leading |
| Cost | No fee listed for the track | From $128 USD per person |
| Cancellation | N/A, just check alerts | Free up to 24 hours before |
There is a fitness note worth packing around. The hike listing asks for moderate fitness and states it is not wheelchair accessible, which mirrors the public tunnel track: NPWS says the same about its own steps, pinch point and barrier with a one-metre gap. Neither option is a stroll, so train the legs a little before either one.
What Should You Leave At Home?
Leave bicycles, pets, prams, smoking gear and drones at home. Cycling is prohibited on the walking track and inside the tunnel, pets are not allowed in Wollemi National Park with the usual assistance-animal exception, and smoking is prohibited, while the steps, pinch point and trailhead barrier rule out prams and wheelchairs on the track itself.
The cycling rule surprises people because Glowworm Tunnel Road itself is a cycling route, and riding the gravel road in is a legitimate way to reach the carpark. The ban starts at the track: bikes must be left at the carpark before the 1.5 km walk to the tunnel entrance. Pets are simpler, a straight prohibition across the park. Smoking matters more than most people assume because the area carries seasonal fire restrictions, with a park fire ban in Wollemi National Park applying from 1 October 2026 to 31 March 2027 covering campfires and solid-fuel barbecues. The wider set of guides lives on Blue Mountains Glow Worms.
The pram and wheelchair point is practical rather than legal. NPWS describes about 30 stone steps down to a bridge, about 30 narrow winding timber steps back up, a pinch point 0.5 m wide after the bridge, and a barrier with a 1 m gap at the trailhead. There is no wheelchair or pram access, and the official advice treats some bushwalking experience as recommended. If you are bringing children, our Glow Worm Tunnel with kids guide covers which sections suit which ages, including the note that the track beyond the Donkey Mountain lookout is not suitable for children at all.
What About Phones, Reception And Safety Apps?
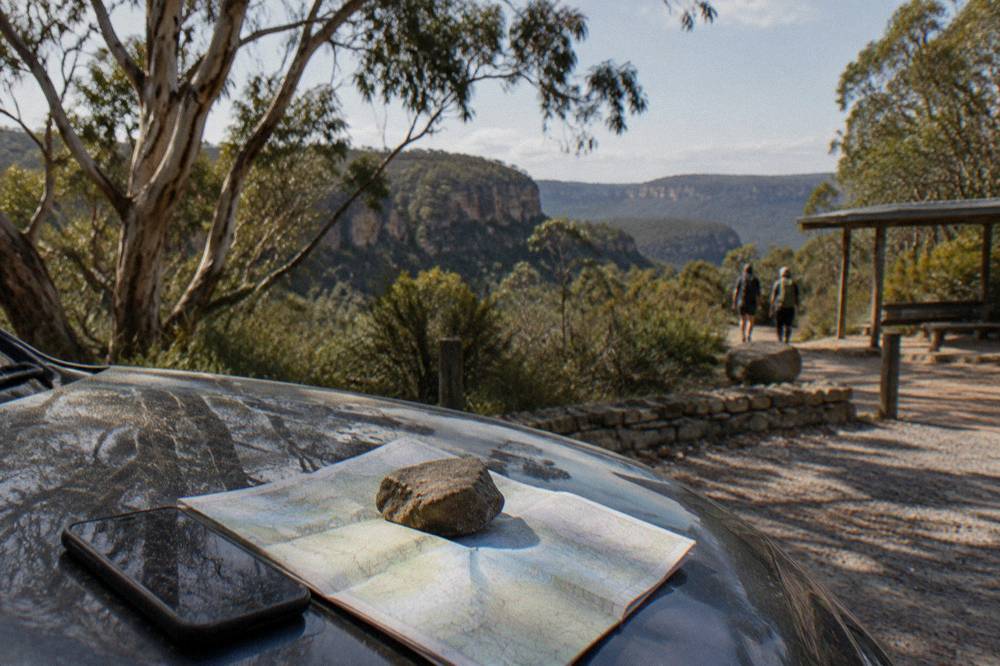
Download offline maps and the Emergency Plus app before you leave Lithgow or Sydney, because mobile reception at the tunnel is very limited and the NPWS advice specifically recommends the app. A charged phone, a power bank and a printed or downloaded track map are the difference between a minor problem and a long wait on a plateau road with no signal.
The Emergency Plus app is the item almost nobody packs and everybody should. It works out your location even where ordinary data does not, which is exactly why NSW National Parks recommends it for this area. Offline maps matter for the drive as much as the walk: Glowworm Tunnel Road is 26.8 km of unsealed road from the Old Bells Line of Road turnoff, or about 39 km via State Mine Gully Road, and it is easy to second-guess a fork in the dark on the way out. Since that unsealed drive ends at a small car park that fills quickly, check where to park and what to do when the lot is full before you set out.
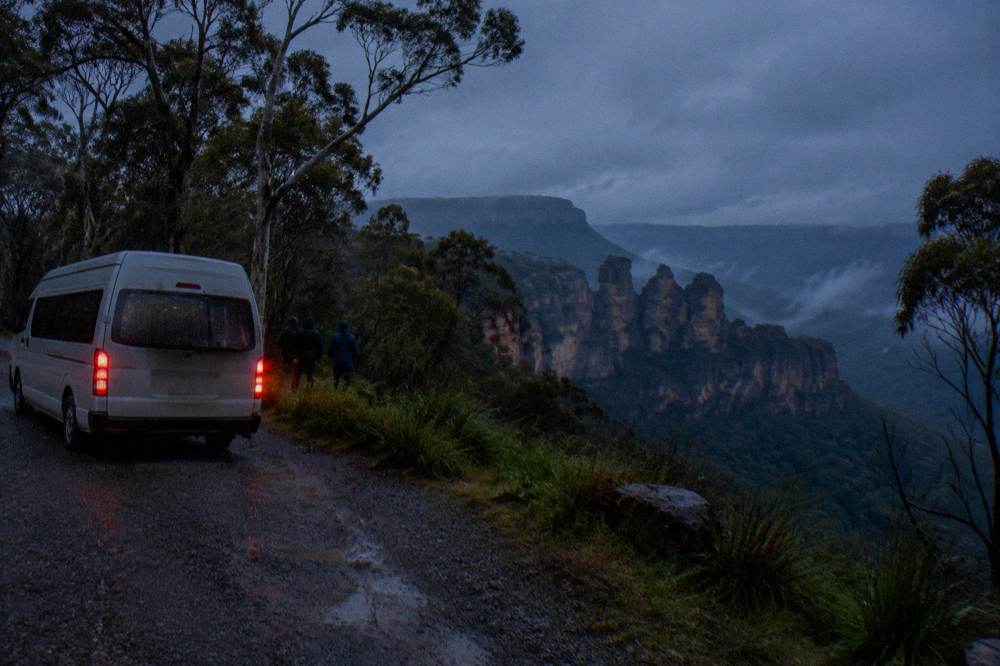
Road conditions deserve a packing-adjacent note. The unsealed roads are passable in a 2WD in dry weather, 4WD is highly recommended, and access is by 4WD only when wet, with no long vehicles allowed. There is also a single-lane section on Glowworm Tunnel Road at the intersection with Lost City North and Maiyingu Marragu from 11 October 2026, with delays up to 5 minutes, and Bungleboori precinct works running until December 2026. Our Glow Worm Tunnel road and car park guide covers the routes, the 60 m single-lane road tunnel just before the carpark, and parking limits in full.
Tell someone your plan before you lose signal. The Blue Mountains Heritage Centre at Blackheath, 270 Govetts Leap Road, is open 9am to 4pm daily except Christmas Day on 02 4787 8877 for track questions, and the Kanangra Area office on (02) 6336 6200 handles the current alerts. Reception at the carpark is patchy enough that a text sent from Lithgow is worth more than five bars of nothing later.
Food, Water And Toilets: What Exists On The Track?
There is no drinking water, no kiosk and no bins on the track: the only facilities are two non-flush toilets and one timber bench at the start, so carry all your water, pack snacks, and plan to take every scrap of rubbish out with you. The nearest shops and taps are back in Lithgow, roughly an hour's drive away by the time you include the unsealed section.
That facility list comes straight from the NPWS visitor information for the track, and it should shape your packing more than any piece of clothing. Two toilets, one of them ambulant-accessible, at the trailhead. One bench. Nothing else. The 6 km return with the 1.5 km tunnel approach takes the suggested 2 to 3 hours at a steady pace, longer with a long tunnel stop to let eyes adjust, and the drive in adds another hour each way from Lithgow. Plan food and water for the whole outing, not just the walk.
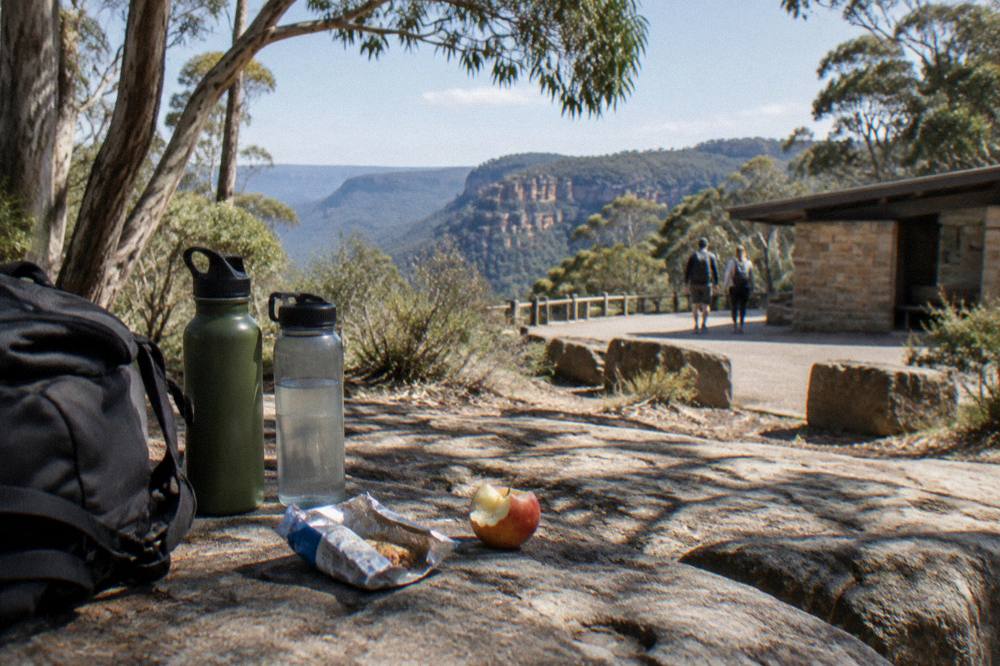
Eating inside or near the tunnel is a bad idea for a different reason: glow worms are the larval stage of a fungus gnat, and food smells and crumbs attract exactly the small flying insects the colony hunts, while noise and disturbance make the larvae switch their lights off. NSW National Parks asks visitors to keep noise to a minimum, stay on the path, and look but do not touch. Eat at the carpark or the bench, not in the dark. The full biology, including the silk snares and the six to nine month larval stage, is in our guide to what glow worms actually are.
The Short Version: A Final Packing Checklist
Pack a red-light headlamp plus a backup torch, grippy closed-toe shoes, plenty of water, warm layered clothing with a windproof outer, snacks, a small first aid kit, a charged phone with Emergency Plus and offline maps, and leave the bike, the dog and the cigarettes behind. If you take the guided night hike, cross the torch, water and parking off the list because the operator supplies them.
Run down this table the night before. It is the whole article compressed into one screen, ordered by how often an item is forgotten.
| Priority | Item | Self-guided tunnel walk | Guided night hike |
|---|---|---|---|
| 1 | Torch or headlamp, red-light mode | Bring it | Supplied |
| 2 | Sturdy closed-toe shoes with grip | Bring it | Bring it |
| 3 | Drinking water | Bring it | Supplied |
| 4 | Warm layers, windproof outer | Bring it | Bring it |
| 5 | Phone, Emergency Plus, offline maps | Bring it | Bring it |
| 6 | Snacks and rubbish bag | Bring it | Bring it |
| 7 | First aid kit | Bring it | Bring it |
| 8 | Sun protection for the walk in | Bring it | Bring it |
| Not allowed | Bikes on the track, pets, smoking | Leave home | Leave home |
The last thing worth packing is a backup plan. The Glow Worm Tunnel to Newnes section can close during or after heavy rain because of rockfall and flood risk, and the operator of the night hike cancels for bad weather or if minimum numbers are not met. Check the NPWS alerts page the morning you go, and if the weather turns, the night versus day viewing question explains why the tunnel, at least, still works in daylight because it is dark enough inside for glow worms at midday.
Whichever way you go, the packing principle is the same: this is a plateau walk with a dark, damp centrepiece, not a theme park. Everything on the list above exists to keep you warm, upright, hydrated and able to call for help, and nothing on it needs to be expensive. If you would rather leave the torch, the water and the route-finding to someone who does this every week, the guided option below covers all three.
Common Questions About What To Bring To The Glow Worm Tunnel
Do I need a special torch for the Glow Worm Tunnel?
A torch with a red-light option is the best choice. NSW National Parks asks visitors to shine torches at the ground or use a red-light setting, because light pointed at glow worms can damage their bioluminescence and makes them turn their lights off. A headlamp with a red mode keeps your hands free on the steps.
Is there drinking water at the Glow Worm Tunnel?
No. The NPWS visitor information lists no drinking water on site; the only facilities are two non-flush toilets and one timber bench at the start. Carry all the water you need for the walk and the drive, plus snacks, and take rubbish out with you.
What shoes should I wear in the tunnel?
Sturdy closed-toe walking shoes or boots with good grip. The tunnel floor is uneven, rocky and may be wet, and the approach includes about 30 stone steps down to a bridge and about 30 narrow winding timber steps back up, with over 80 steps in total and no handrails on those sections.
Is it cold at the Glow Worm Tunnel at night?
Yes, often colder than coastal Sydney by a wide margin. Katoomba, at 1,017 metres, averages a night minimum of 2.6 degrees in July and 12.9 in January. Pack warm layers and a windproof outer year round, and add gloves and a beanie in winter.
Can I bring a bike, a dog or a pram on the track?
No. Cycling is prohibited on the walking track and in the tunnel, pets are not allowed in Wollemi National Park except for assistance animals, and the steps, the 0.5 m pinch point and the trailhead barrier with a 1 m gap rule out prams and wheelchairs. Smoking is also prohibited.
What does the guided night hike provide?
The listing states that headlamps with a red-light mode, water, parking fees, transport in a small van and a certified outdoor instructor are included, with hotel pickup in Sydney between about 7:50pm and 8:35pm. You still bring your own shoes and warm clothing. The tour costs from $128 USD per person and allows free cancellation up to 24 hours before.